Easy Way To Install Python With Anaconda Package Distribution on Windows
picture source : 365datascience.com
I. INTRODUCTION
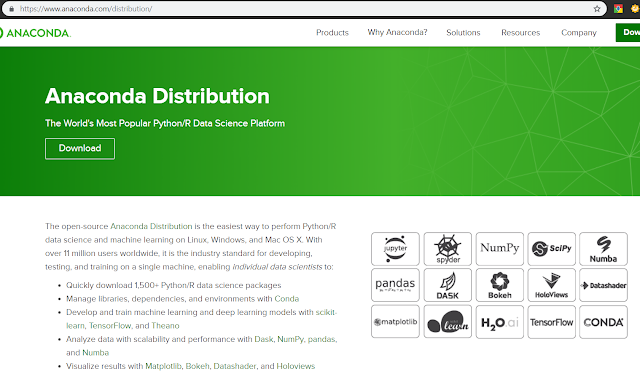
In this post written about how to install python on your Windows PC using Anaconda Package. Anaconda is free and open-source distribution for Python and R programming language for scientific computing and data science like big data, deep learning, machine learning, etc. Package management system managed by "conda" command and operated through Anaconda Prompt which is like windows command prompt but provided by Anaconda Distribution. This package is compatible with Windows, Linux, and Mac OS Operating System. You may download the distribution package depends on your platform through this link : https://www.anaconda.com/distribution/.
Picture 1. Anaconda Distribution Official Home Page
Anaconda distribution contains more than 1,400 packages. Every packages can be installed individually with command "conda install <package name>" or either "pip install <package name>". You can use both ( pip and conda ) on the same project or session to install the package required by your project. You can choose python version 2.x or python version 3.x while creating an environment which is also written on this post.
II. DOWNLOAD AND INSTALL ANACONDA DISTRIBUTION
You can start to download the Anaconda from official web page and choose the installation package based on your platform whether it Windows, Linux, or Mac OS. On this case, taken an example about installing Anaconda in Windows 10 Platform.
You can start to double-click the Anaconda for Windows installer to start the installation process.
Then you can choose which python version you need. But you can choose different python version later while you creating a anaconda environment. For example, you can choose python version 3 in conda environment even you choose version 2 on this step.
Picture 2. Finished Anaconda Installation
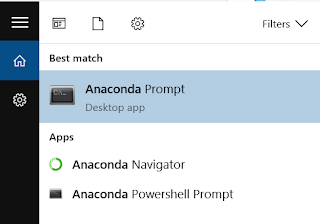
After the installation process has been finished, then you can start to open Anaconda Prompt to make some python conda environment preparation. Some cases that you need to run it as "Administrator".
Picture 3. Anaconda Prompt
To make sure that your conda environment has been updated to the latest version, you may type this below code :
(base) C:\Users\yourname>conda update conda( base ) C:\Users\yourname>conda update anaconda
Above codes will check the latest package repositories from Anaconda Cloud Repositories and will choose the latest updated package version for you. Some cases you need to wait the update process longer because it depends on your computer specification and internet bandwidth on your side.
Picture 4. Conda Update on Anaconda Prompt
Then you can start to create a new python conda environment.
III. CREATE ANACONDA PYTHON ENVIRONMENT
Anconda Python Environments keep installed packages in separate “sandboxes” so you can develop different python codes as many as you can with different python version or packages. This become your advantage because, if you develop a code in python version 2 and make some changes which supported only by python version 3, so you do not need to change the previous environment to python version 3 or even re-installed the whole packages which supports python version 3.
To create new environment, keep open Anaconda Prompt and some cases you need to run it as "Administrator". Then you can type this below code :
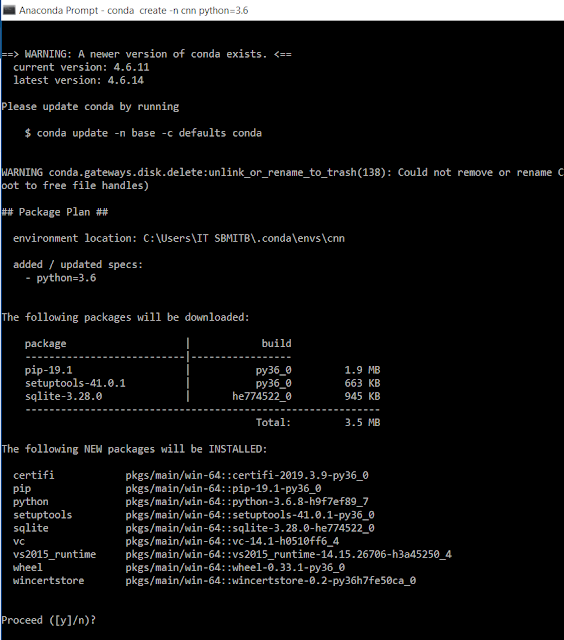
(base) C:\Users\yourname>conda create --name your_env_name python=3.7 -y
On above code, you may choose and type your environment name as you like without "spacebar". Also you may choose the python version you need. Just change "python=2.x" or "python=3.x". Then you can wait the process and once again it depends on your internet bandwidth.
Picture 5. Create Conda New Environment Process
After the process is finished, you can start to activate your new environment by typing below code :
(base) C:\Users\yourname>conda activate your_env_nameNow, you can start to develop your python in your new python conda environment and you can install every available libraries using conda or pip command downloaded from Anaconda Cloud Repositories depends on your development requirements.
Picture 6. Activated New Conda Python Environment
Thank you and hope this helps.


Comments
Post a Comment
Please leave your comment politely and do not write a spam message.
Thank you. :)